Pages

Monday, 21 August 2017

HAND PAINTED LITTLE TURTLE

HAND PAINTED TURTLE ROCK

I love this little guy! He now sits in my garden and my brother loves him! It's so surprising how six plain grey pebbles from the patio can be transformed into this bright little creature! 

Super simple to make:
Use light blue acrylic on all the rocks. As the rocks were dark, I had to use several coats, so you may need to do the same. Next draw and paint on the patterns, and then seal with Mod Podge!! Voila!


Monday, 14 August 2017

HAND PAINTED TREE ROCK

 HAND PAINTED TREE ROCK:

This craft took a little bit more time, as I had to paint the background of the rock and let it dry first, before continuing with the rest of the painting. 

I first used a sponge to create a gradual fade on the rock from black to white/grey using acrylic paint. After this dried, I painted the black tree silhouetteI then painted flowers using yellow, gold, and red acrylic. 

If you would like your rock to be water-proof and glossy, remember to seal with Mod Podge!!


Monday, 7 August 2017

SHARPIE, SHELLS, SHINGLE!!

SHARPIE OWLS:

This week is an extremely simple craft that anyone can do. All you need is a sharpie and some Mod Podge if you want a good waterproof gloss (I do this so that I can put mine in the garden!) 

I would advise sketching your pattern over in pencil first before using sharpie unless you are confident! Also, be sure that your sharpie is dry before you apply the Mod Podge otherwise it will smudge your wonderful pattern!! 


Monday, 31 July 2017

HAND PAINTED CHOPSTICKS AND HOLDER

HAND PAINTED CHOPSTICKS AND HOLDER:

Hand painted rocks are my favourite craft. They are so simple and easy. My mother probably does not appreciate the number of pebbles I have removed from the garden to paint - but it's okay, I will be putting most of them back in the garden once I have painted and waterproofed them!! 

As this pebble was a perfect chopstick holder shape, it was sadly not returned to the garden, although it was definitely put to good use! 

I first painted black outlines of branches and then once dry added flowers using gold, yellow and red acrylic. To seal the paint (making it waterproof), I used Mod Podge, which leaves a lovely gloss!! 

Monday, 24 July 2017

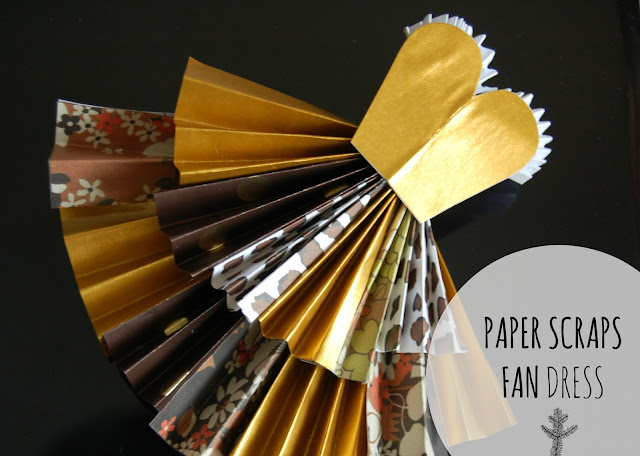
HANDMADE FAN DRESS (FROM PAPER SCRAPS)


FAN DRESS MADE FROM PAPER SCRAPS


Here is a simple way to use up those little pieces of scrapbook paper that you have left over after collage projects!

Simply, cut your sheets of paper into the same size rectangle/or square and then start folding back and forth (like a normal fan you would make at school)! Try to make sure that all the fan folds are similar width so that you can glue your pieces of scrap paper together neatly.

Once all the fans are glued together, make another layer of smaller fans.

Next, simply cut out a corset, and there you have it!! A very quick and simple paper dress which you could stick on a card, or put in a picture frame to hang on the wall, or hang on a garland!

Monday, 17 July 2017

FABRIC SCRAPS FLOWER BROOCH

FABRIC SCRAPS FLOWER BROOCH:

I just can't get enough of making brooches!! This is the last brooch I promise! 

I started off this brooch using 2 scrap bits of fabric: old lace and the end of an old scarf.  To begin with I cut these pieces of fabric into a long triangle.
To achieve the shape of each flower I did a simple running stitch by hand along the longest side of the rectangle and pulled it tightly. (This is a very simple way to achieve a flower shape).
I then stitched the flowers together and added some old jewellery onto the brooch- an old necklace loop, a big bead and part of a bracelet around the bead. 

Monday, 10 July 2017

BEADED RIBBON BROOCH

ANOTHER JEWELLERY SCRAP BROOCH

Using my Jewellery scraps again this week! But making an entirely different brooch, using sewing instead of wire and metal! For me, when it comes to craft, hand sewing beads is the most time consuming and patience testing, but the end result is so worth it. 


In this case, I started off with a felt shape of a ribbon and then using beads from broken/ unwanted jewellery I embellished the felt. I then sewed on this gem in the middle (from an old plastic ring!) and sewed on old bracelets so they create a nice loop under my brooch! And tadah- using scraps is completely worth it!!!

Monday, 3 July 2017

JEWELLERY SCRAP BROOCH

JEWELLERY SCRAP BROOCH

I am, like most girls, very good when it comes to shopping! So good, that I always end up with lots of stuff I do not wear or use! This weekend, I decided it was time to clear out the jewellery drawer (to put it into perspective, I was clearing out accessories as old as the ones I had purchased from Claire’s, when I was 6 years old).


I hate throwing things out so decided to throw all the bits and pieces I had into a lovely brooch, that I could wear now. The brooch consists of a jewel from a necklace, with felt glued behind to attach the pin. At the end of the jewel I attached some earrings, and some charms from bracelets, before wrapping wire around the end of the jewel to hide any glue and to make it look a bit more pretty!.... and Ta Dah, there you have it! 

Monday, 26 June 2017

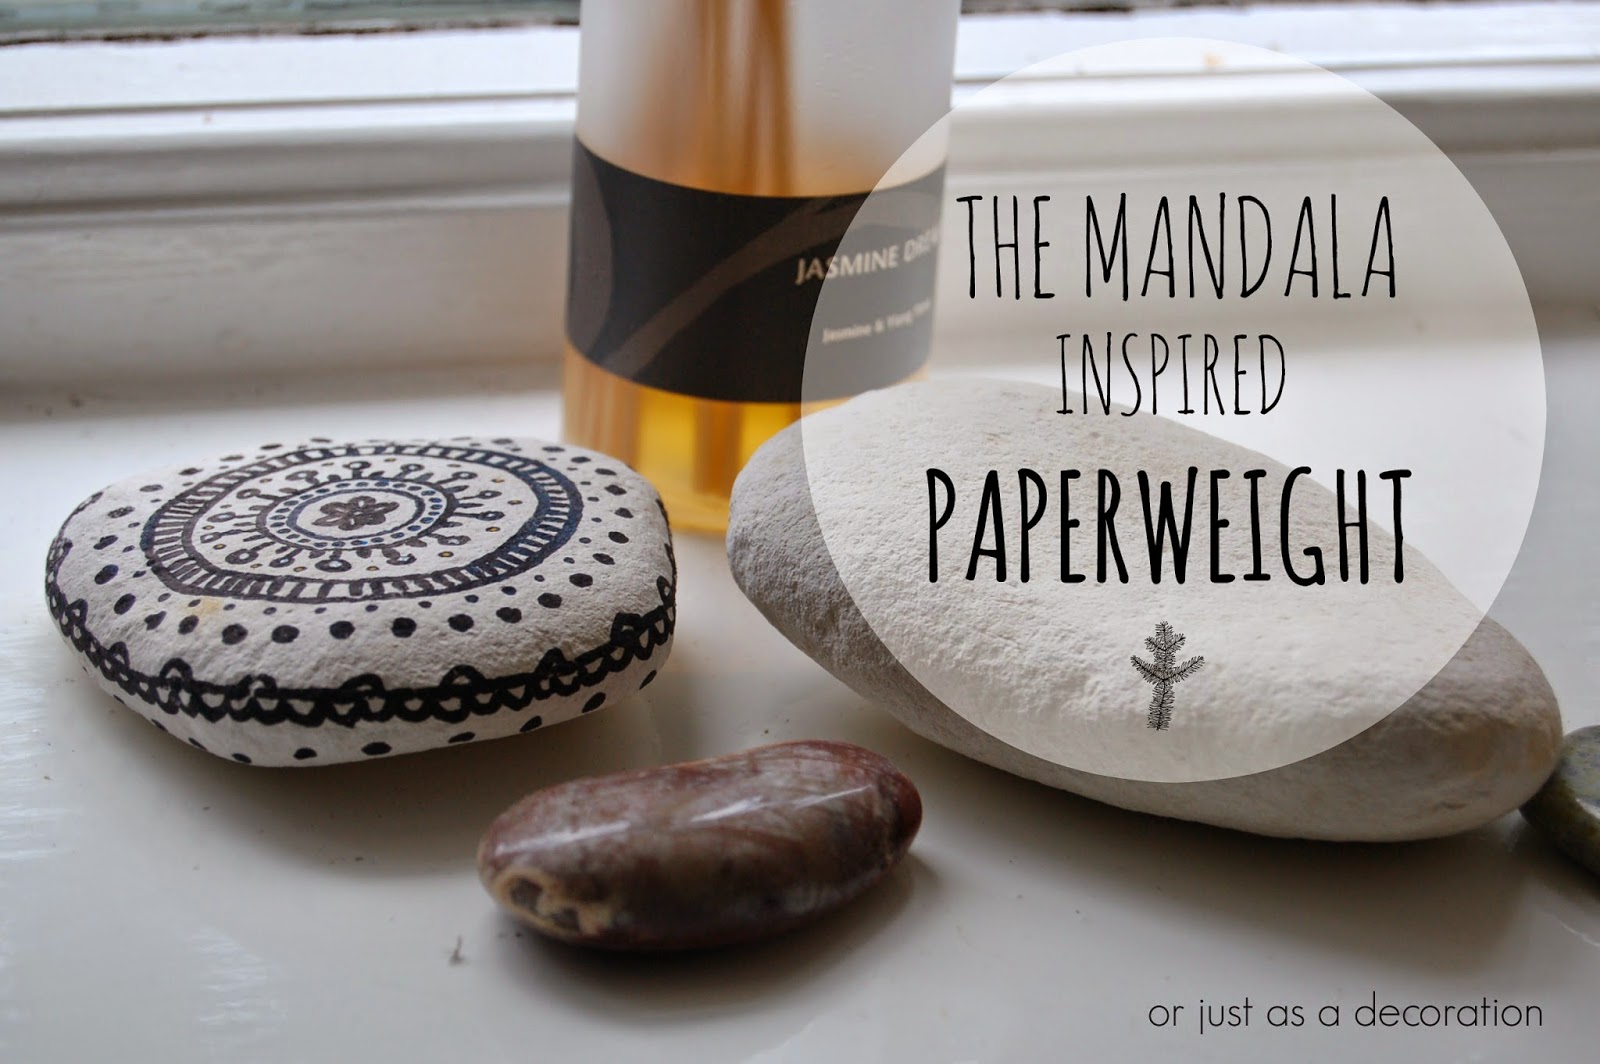
MANDALA INSPIRED DECORATED PAPER WEIGHT


Doodling using Sharpie adds considerable character to the simply garden pebble. In order to create this paperweight, you will need:
 A clean reasonably sized pebble 
A sharpie 
Some nail polish (if you would like to add colour)
A pencil
A print out of a mandala pattern from the internet (see bottom of the page for examples)
Firstly draw the mandala pattern onto your pebble with pencil. Then outline this with Sharpie and add colour with nail polish if desired.

Tadah!!


Mandala examples :

Sources: Mandala 1 , Mandala 2 , Mandala 3 , Mandala 4.


Charnicola